


Managing file uploads with Flask refers to the process of allowing users to upload files (such as images, videos, or documents) to your Flask web application.
In this article, we will go through the process of uploading files using the flask framework first, let us define what we are going to be doing in simpler terms;
A simple analogy of file uploading
Managing file uploads with Flask is like setting up a post office where people can send packages to your address. Flask is like the post office that provides a way for users to submit their packages (files) to your web application, you as the web developer can then handle these packages by processing their contents, validating them and storing them permanently.
However, just like a post office has to ensure the safety and security of the packages it handles you also need to implement proper security measures to ensure that the uploaded files are safe and do not contain any malicious content, these measures are similar to checking the packages for restricted items and verifying their contents before accepting them into the post office system.
Now that you get the picture let us delve into the processes;
- Note: This Article requires basic knowledge of Python and Flask framework
Handling a file upload system
Given that you have basic knowledge of Python and the Flask framework, we will then dive into the steps to handle file uploading using your preferred IDE.
- I am using Visual Studio code for this Article;
Step 1: Create a form in HTML
The first step is to create an HTML form that allows users to select a file to upload, this is the interface that users will interact with when they want to upload a file to your web application.
write the code below and save it as; "<preferred_name>.html",
It must have the
".html"extension,I will save mine as
upload.html;
<!DOCTYPE html>
<html>
<head>
    <title>File Upload Form</title>
</head>
<body>
    <h1>File Upload Form</h1>
    <form action="/upload" method="POST" enctype="multipart/form-data">
        <label for="file">Select a file:</label>
        <input type="file" id="file" name="file">
        <br><br>
        <input type="submit" value="Upload">
    </form>
</body>
</html>
This is a simple HTML code that has a form with a file input field we will be working with in this tutorial,
The
enctypeattribute of theformelement which is set tomultipart/form-datato indicate that this form will upload binary data, which includes files like videos, and images, not plain text.When the user submits the form by clicking the
Uploadbutton it will send aPOSTrequest to the/uploadendpoint with the selected file attached.
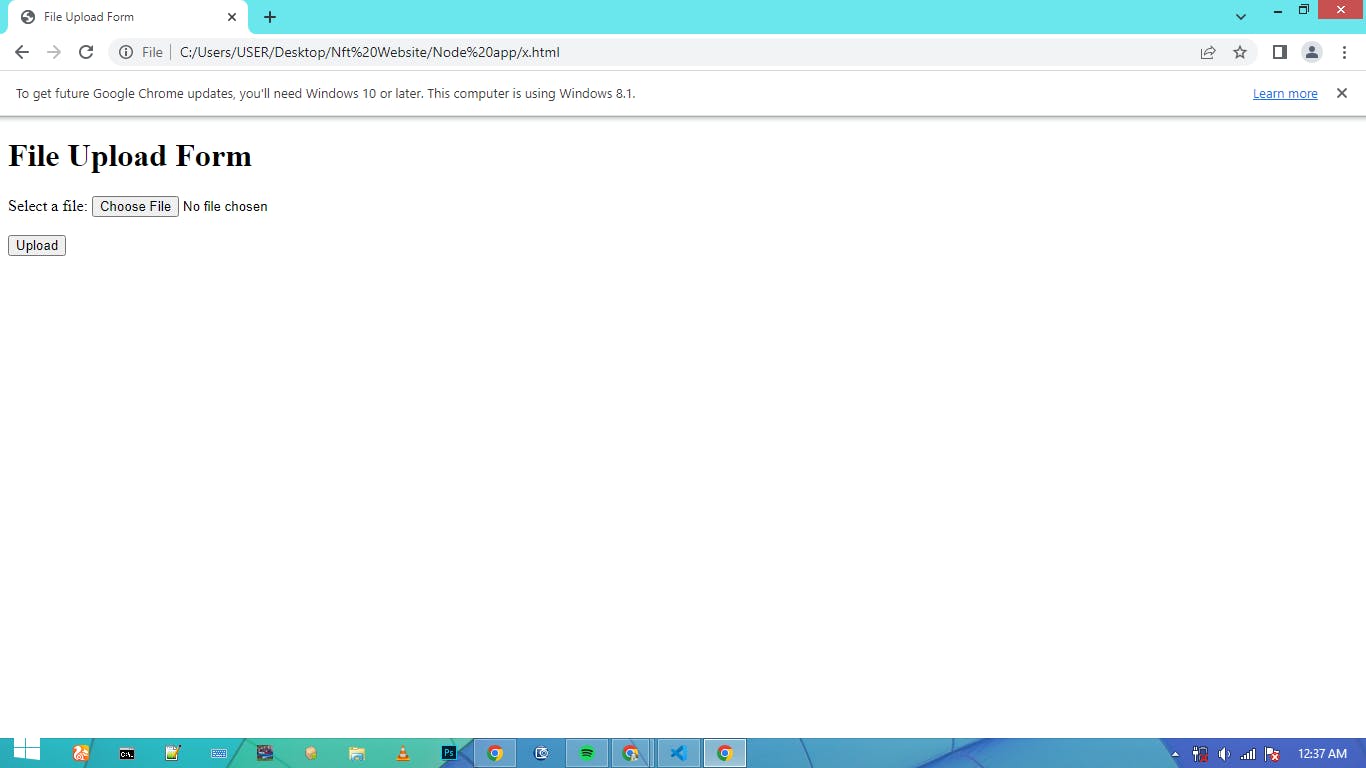
Testing this file before integrating it with our flask app by opening it with your favorite browser should show you something like this;
Step 2: Set up a route in Flask
Let us set up a route in our Flask application that will handle the file upload request, this route will receive the file from the HTML form submitted by the user and process it.
We create a flask app and name it with our "<preferred_name>.py",
it must have the
".py"extension;I will save mine as
app.py;
from flask import Flask, request, render_template

app = Flask(__name__)

@app.route('/upload', methods=['GET', 'POST'])
def upload_file():
    if request.method == 'POST':
        file = request.files['file']
        # process the file here
        return 'File uploaded successfully!'
    return render_template('upload.html')
We have created a route for the
/uploadendpoint that accepts bothGETandPOSTrequests.When a user submits the file upload form, the data is sent as a
POSTrequest to this endpoint.We check If the request method
request.methodis aPOSTrequest in our flask code So we can get the uploaded file using therequest.fileson the code.The
['file']part ofrequest.files['file']gets thenameattribute of the file input field in our HTML form.
Now that we have access to the uploaded file we can process it in any way we want.
For example, we can store the file in a database save it to the file system or perform some validation checks on it.
In this example, we have not implemented any processing logic yet and we just got the file to the backend through the flask app.
If everything goes well, we can return a success message to the user indicating that the file has been uploaded successfully, the reason we returned 'File uploaded successfully!'
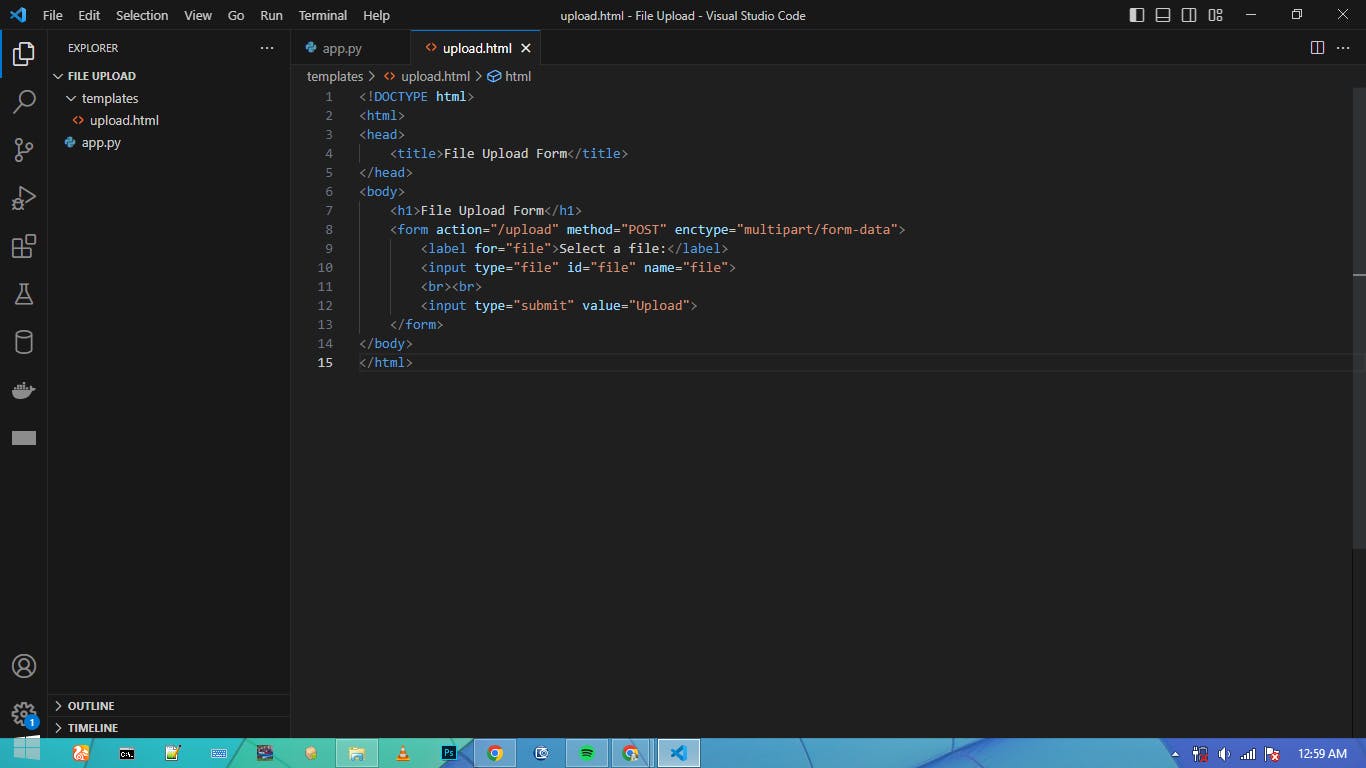
The render_template is a function that flask uses to access any HTML file, but the file must be saved in a folder named templates which will be in the same directory as the flask app.
The arrangement is shown below on the left-hand side of the image;
Step 3: Process the uploaded file
Processing the uploaded file means accessing the file data and doing something with it such as saving it to a database or file system or performing some validation checks.
We are going to save the uploaded file to a file system by adding the following lines of code to our previous code;
from flask import Flask, request, render_template
from werkzeug.utils import secure_filename
import os

app = Flask(__name__)
app.config['UPLOAD_FOLDER'] = '/upload'

@app.route('/upload', methods=['GET', 'POST'])
def upload_file():
    if request.method == 'POST':
        file = request.files['file']
        # process the file here
        filename = secure_filename(file.filename)
        file.save(os.path.join(app.config['UPLOAD_FOLDER'], filename))
        return 'File uploaded successfully!'
    return render_template('upload.html')
In this code we;
Imported and called the
secure_filenamefunction from thewerkzeug.utilsmodule to ensure that the filename is safe and doesn't contain any malicious code.We added an
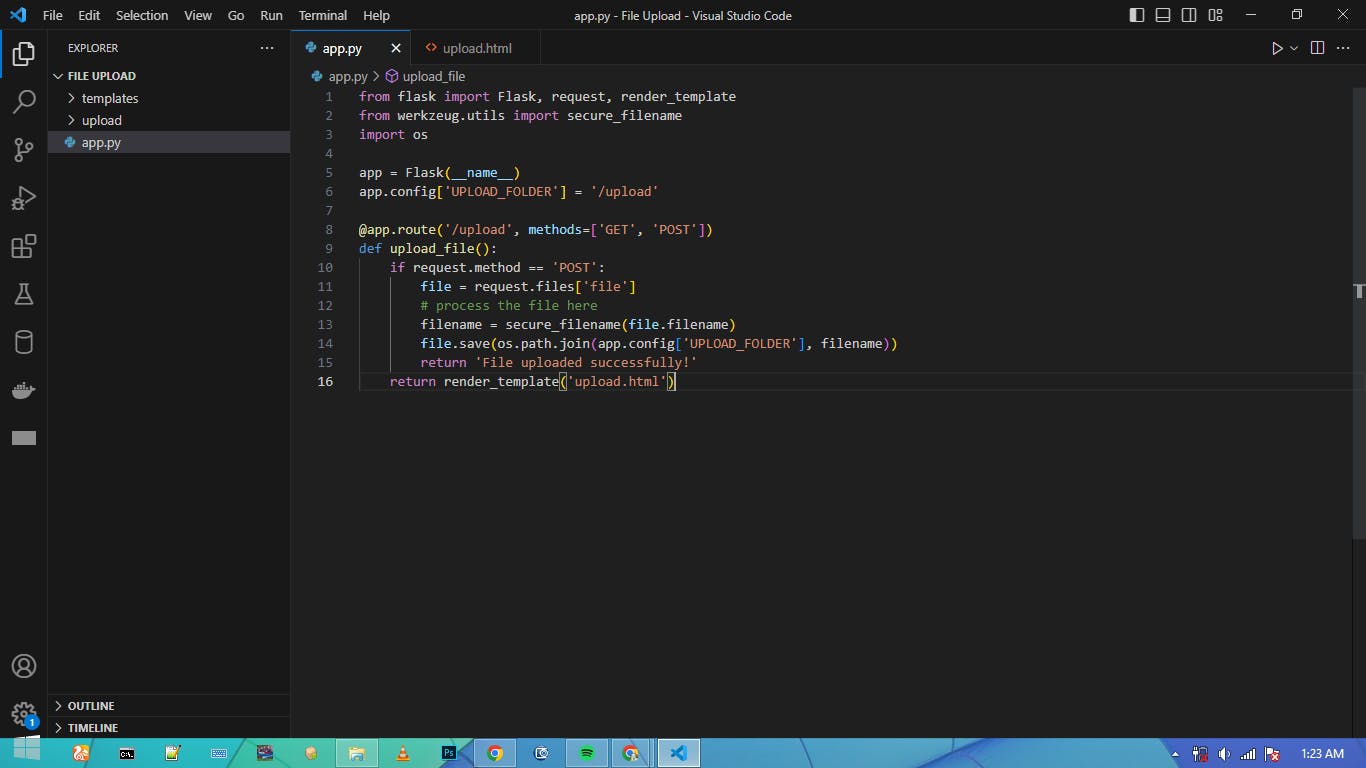
app.config['UPLOAD_FOLDER']variable that specifies the folder where uploaded files should be saved.
You can create another folder to store the uploaded files example and name it upload;
The folder name is totally up to you but it must be the same as the value for the app.config['UPLOAD_FOLDER']
Once we have a secure filename, we save the file to the upload folder we have created and specified in the app.config['UPLOAD_FOLDER'] variable using the save method of the FileStorage object.
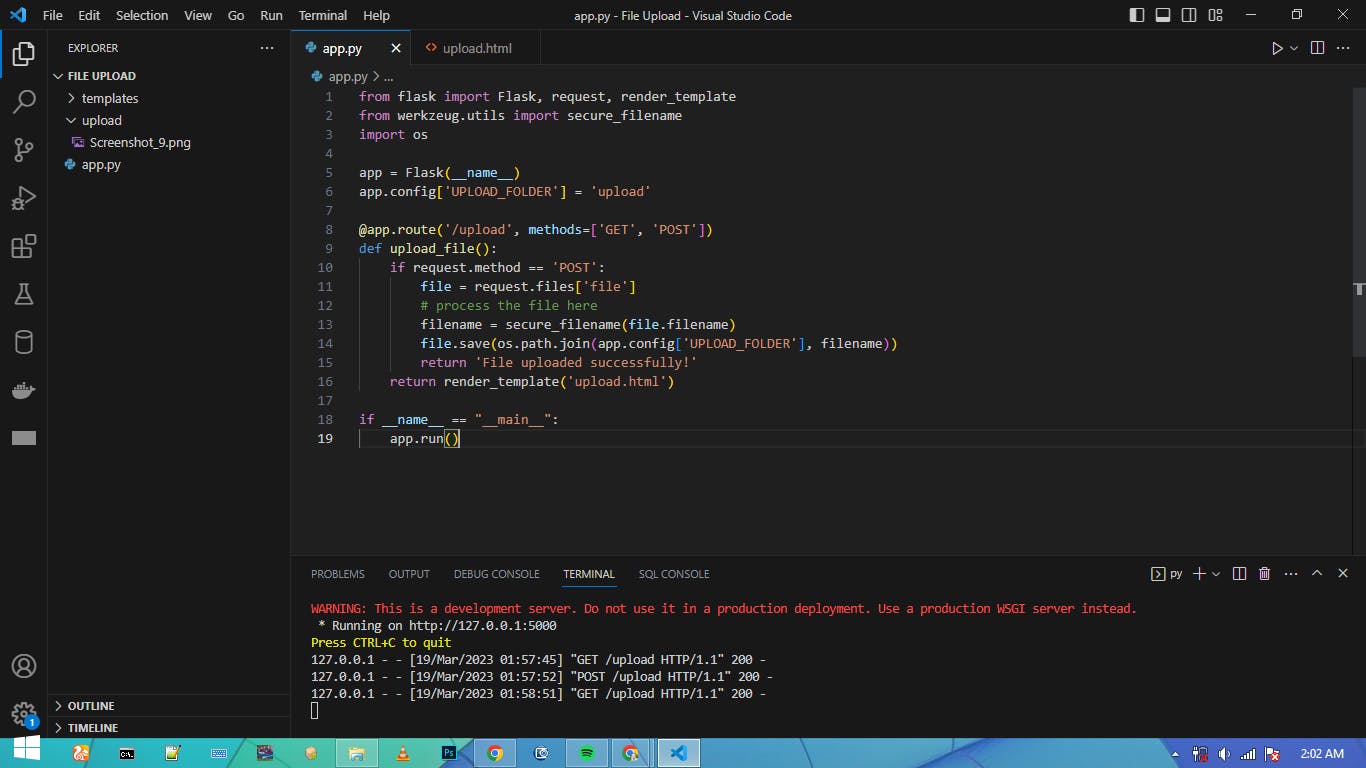
Step 4: Testing our app
After successfully writing our code;
from flask import Flask, request, render_template
from werkzeug.utils import secure_filename
import os

app = Flask(__name__)
app.config['UPLOAD_FOLDER'] = '/upload'

@app.route('/upload', methods=['GET', 'POST'])
def upload_file():
    if request.method == 'POST':
        file = request.files['file']
        filename = secure_filename(file.filename)
        file.save(os.path.join(app.config['UPLOAD_FOLDER'], filename))
        return 'File uploaded successfully!'
    return render_template('upload.html')

if __name__ == "__main__":
    app.run()
We Start our Flask app by running the Python script that you saved your code as
Assuming app.py is the name of your Python script.

If your application runs successfully;
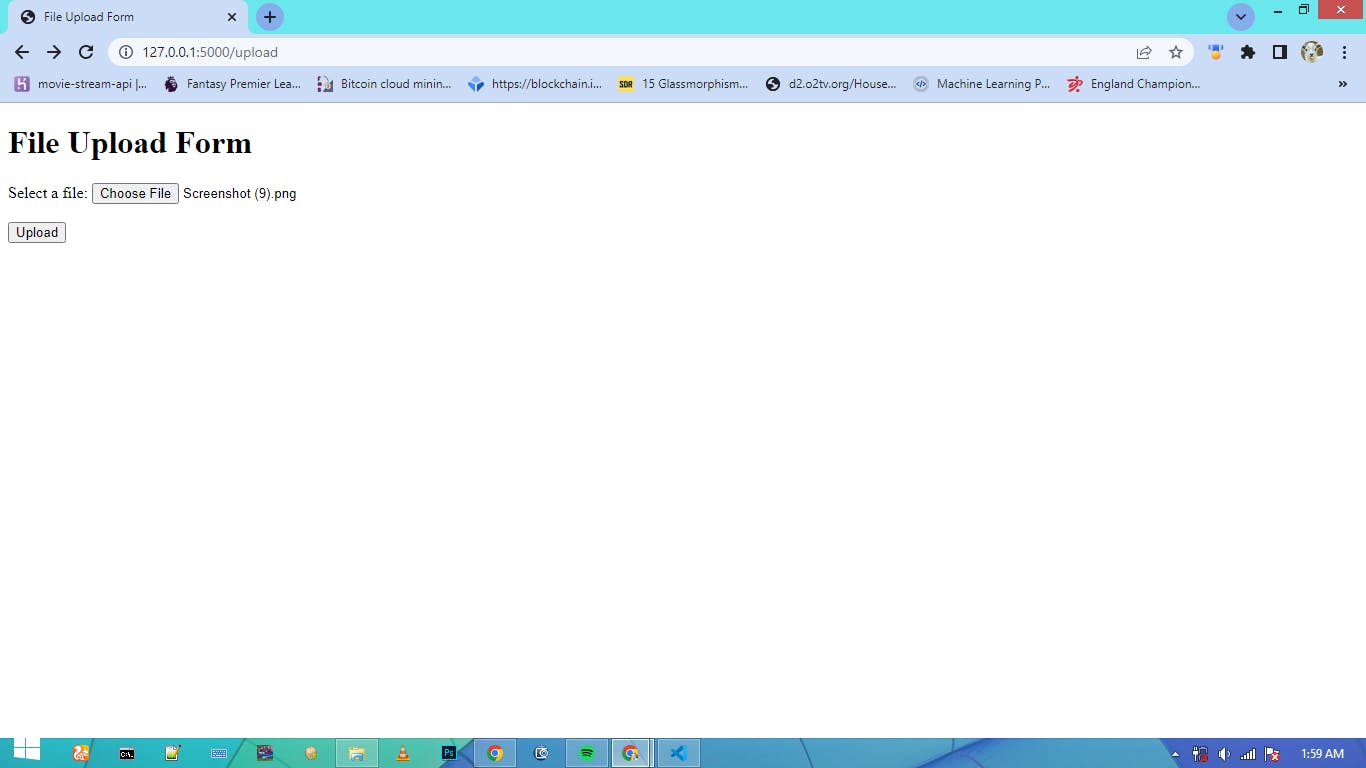
Open your web browser and navigate to the URL of your Flask app.
This will typically be
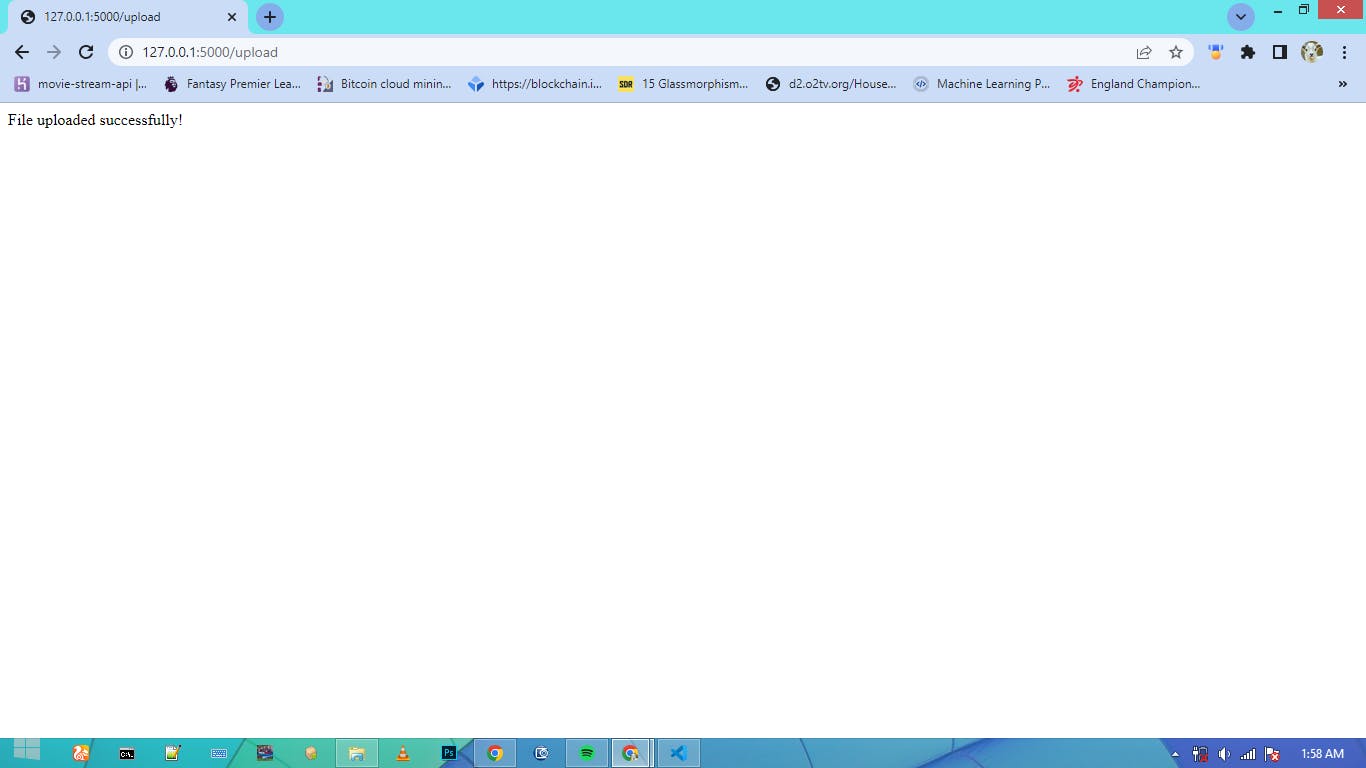
http://localhost:5000/uploadunless you have specified a different port number in your app code.Then select a file (image or video) and click the upload button;
- If successful, it shows the "
File uploaded successfully!" message.
- Then check your
uploadfolder for the file you uploaded;
By following these steps, we created a secure and functional Flask app for managing file uploads which we can also use to create a larger application that requires file uploading.
Thank You For Reading!!